Model and Actor Tips – Range
The Professional Code: Range, Intensity, and the «Chameleon» Mindset
The Professional Pose Vocabulary: 20 Terms for Elite Talent
The Body & Silhouette
- The S-Curve: Shifting weight so the spine and hips create an ‘S’ shape. It creates maximum flow and elegance.
- The Counter-Pose (Contrapposto): Shoulders tilted one way, hips the other. It breaks symmetry and looks natural.
- Negative Space: The gaps between your arms, legs, and torso. Pros create «windows» of space to keep the silhouette clean.
- Short-Shirting: Pulling the shoulders up slightly to create tension or a «high-fashion» discomfort.
- Elongation: Stretching the neck and spine to the maximum to appear taller and more «graceful.»
- The Kick: Bending one knee forward or to the side to break the vertical line of the legs.
- The Pivot: Keeping one foot planted while rotating the torso 45 or 90 degrees toward the lens.
- The Hinge: Bending at the waist or hips to create a sharp, dramatic angle in the torso.
The Face & Eyes
- The Smize: «Smiling with the eyes.» Created by tightening the lower eyelids while keeping the mouth neutral. (Coined by Tyra Banks).
- The Squinch: Narrowing the eyes slightly to project confidence and intensity rather than a «deer in headlights» look.
- The Jaw-Extension: Pushing the chin slightly forward and down to define the jawline and eliminate neck shadows.
- The Catchlight: Positioning your face so the studio lights reflect in your pupils, giving «life» to the eyes.
- The Parted Lip: Keeping the mouth slightly open (breathing through the mouth) to relax the face and look more sensual or «editorial.»
The Camera & Composition
- Three-Quarters View: Turning 45 degrees away from the camera. This is the most flattering angle for almost everyone.
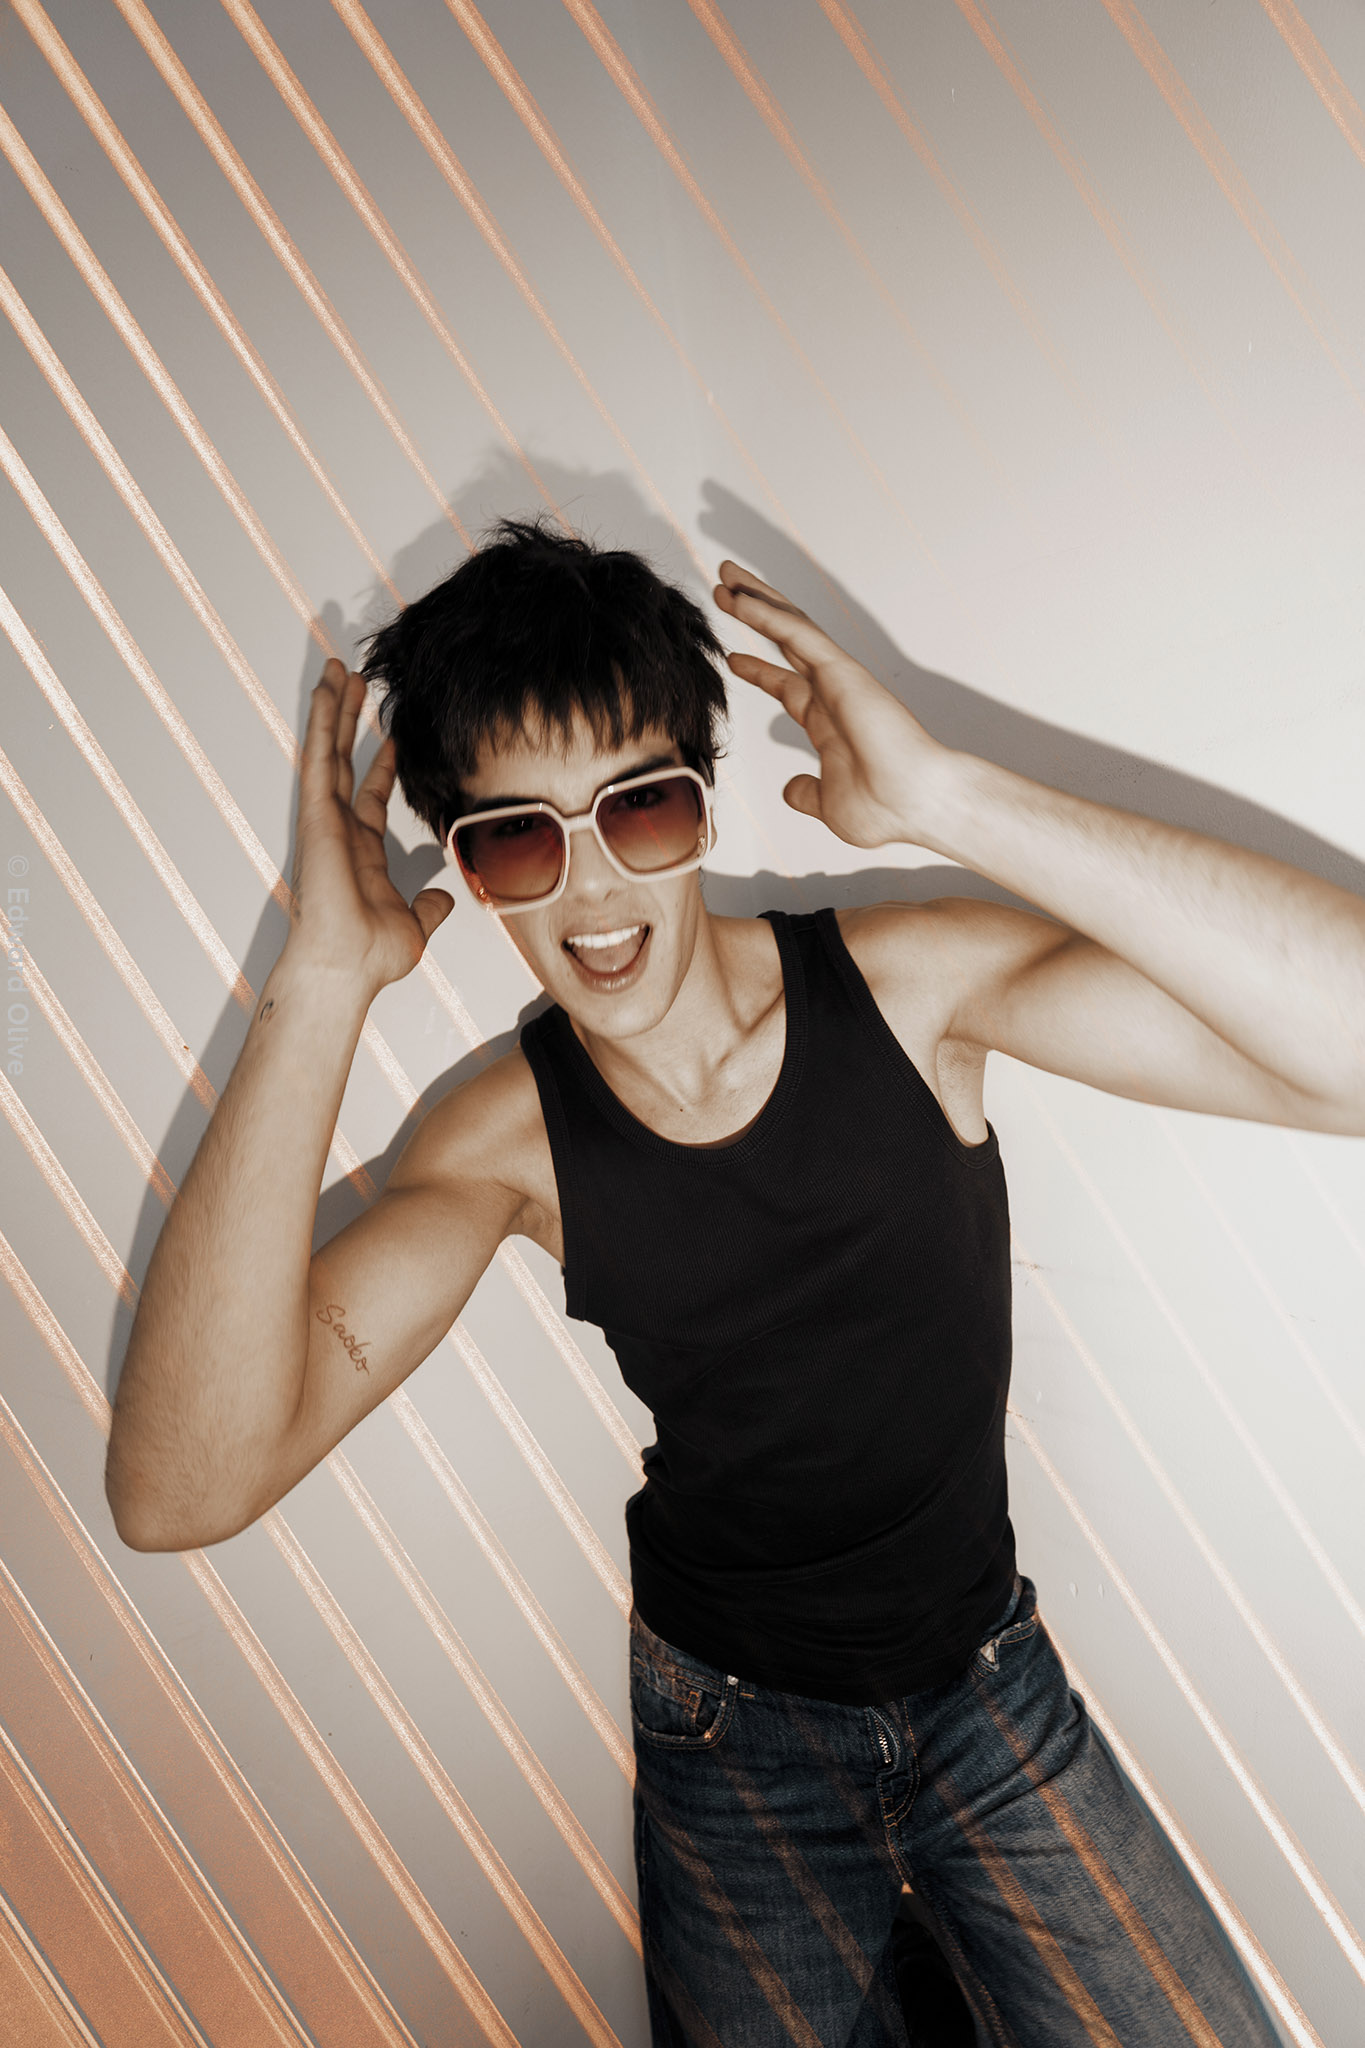
- The Dutch Tilt (Body): Tilting your head or torso to match a diagonal line in the frame.
- Profile vs. Semi-Profile: A 90-degree turn (Profile) versus showing just a hint of the far eye (Semi).
- Forshortening: Pointing a limb directly at the camera. It makes the limb look shorter but creates a very dramatic, «3D» effect.
- The Lean: Using a wall or prop to break your center of gravity.
- Leveling: Adjusting your height (dropping a shoulder or bending a knee) to match the height of another model in the frame.
- The «Check»: Holding a pose for 1 second after the flash to ensure the photographer «caught» the moment.
Vocabulario Profesional de Posado: 20 Términos para Talentos de Élite
Cuerpo y Silueta
- La Curva en S: Desplazar el peso para que la columna y las caderas creen una ‘S’. Aporta fluidez y elegancia.
- Contrapposto (Contra-pose): Hombros inclinados hacia un lado y caderas hacia el otro. Rompe la simetría y resulta natural.
- Espacio Negativo: Los huecos entre brazos, piernas y torso. Los pros crean «ventanas» de espacio para que la silueta sea limpia.
- Tensión de Hombros: Subir los hombros ligeramente para crear un look de «alta costura» o drama.
- Elongación: Estirar el cuello y la columna al máximo para parecer más alto y grácil.
- The Kick (La Patada): Doblar una rodilla hacia adelante o hacia el lado para romper la línea vertical de las piernas.
- El Pivote: Mantener un pie plantado mientras giras el torso 45 o 90 grados hacia la lente.
- The Hinge (La Bisagra): Doblarse por la cintura o cadera para crear un ángulo agudo y dramático.
Rostro y Mirada
- Smize: «Sonreír con los ojos». Se logra tensando los párpados inferiores con la boca neutra.
- Squinch: Entornar los ojos ligeramente para proyectar confianza e intensidad en lugar de parecer asustado.
- Extensión de Mandíbula: Empujar la barbilla hacia adelante y hacia abajo para definir la mandíbula y eliminar sombras en el cuello.
- Catchlight (Luz de Brillo): Posicionar la cara para que las luces se reflejen en las pupilas, dando «vida» a la mirada.
- Labios Entreabiertos: Mantener la boca apenas abierta (respirando por la boca) para relajar el rostro y dar un aire más «editorial».
Cámara y Composición
- Vista de Tres Cuartos: Girarse 45 grados respecto a la cámara. Es el ángulo más favorecedor para casi todo el mundo.
- Inclinación Holandesa (Cuerpo): Inclinar la cabeza o el torso para seguir una línea diagonal en el encuadre.
- Perfil vs. Semiperfil: Un giro de 90 grados (Perfil) frente a mostrar solo un atisbo del ojo lejano (Semi).
- Esgorzo (Foreshortening): Apuntar una extremidad directamente a la cámara. Crea un efecto 3D muy dramático.
- The Lean (El Apoyo): Usar una pared o atrezo para romper tu centro de gravedad.
- Nivelación: Ajustar tu altura (bajando un hombro o doblando la rodilla) para encajar con otro modelo en el plano.
- The «Check» (La Pausa): Mantener la pose 1 segundo después del flash para asegurar que el fotógrafo captó el momento.
© Edward Olive 2026
